Installation
What should I do with the ZIP file?
How to activate the widget
Installation
Upload the ZIP file with WordPress (Dashboard > Plugins > Installed Plugins > “Add New” button > “Upload Plugin” button >) or copy it to your plugin folder ([your-wp-installation]/wp-content/plugins/term-and-category-based-posts-widget) to your wordpress installation.
How to activate the widget
In the admin panel Plugins > Installed Plugins > Term and Category Based Posts Widget is an action link License below the widget name. Click this and you come to the Licens activation admin panel.

In the License activation panel you have to enter your license key and Save Changes button. Up to now your widget is activated and is visible placeble to your widget areas or as shortcode to the content.

If you want to deactivate the license, for example in order to move it to another site, submit an empty value as the license key.
License transfer between sites
Sometimes when going from development to production the domain of the site changes and if you’re not going to keep a live development server, it doesn’t make any sense for both the user or us to make the user buy two licenses just for that.
With Term and Category based Posts Widget v4.7 and heigher you’ll be able to just deactivate the license on your development site and activate it on production.
Manage downloads and license keys
You can manage your Downloads and Site Licenses also by using the Dashboard.
Use the widget
How to use Shortcode
How to use Shortcode

By using the [termposts] shortcode (for the free version use [catposts]) you can insert a unique widget into any place in a content. The shortcode has the same functionality and configuration options as a “normal” widget.
Inserting removing and configuring a shortcode
The shortcode [termposts] (for the free version use [catposts]) can be inserted in any type of content, anywhere. It is basically used to indicated where the widget will be displayed in the content. There can be only one shortcode per post/content, you can insert two but it will just present the same content in both places. Remove it by deleting the shortcode from the content.

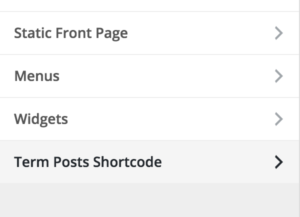
Once the shortcode is in the content you need to get to the customizer for the post. The easiest way to do that is to go into preview from the post editing screen and click the “Customize” menu on the “admin bar” (Width one click to the customizer). In the customizer you will find the “Category Posts Shortcode” section and entering it will show a form which the shortcode can be configured.
For more you can read our blog posts about shortcode or the documentation.
How to use Post List Alterations
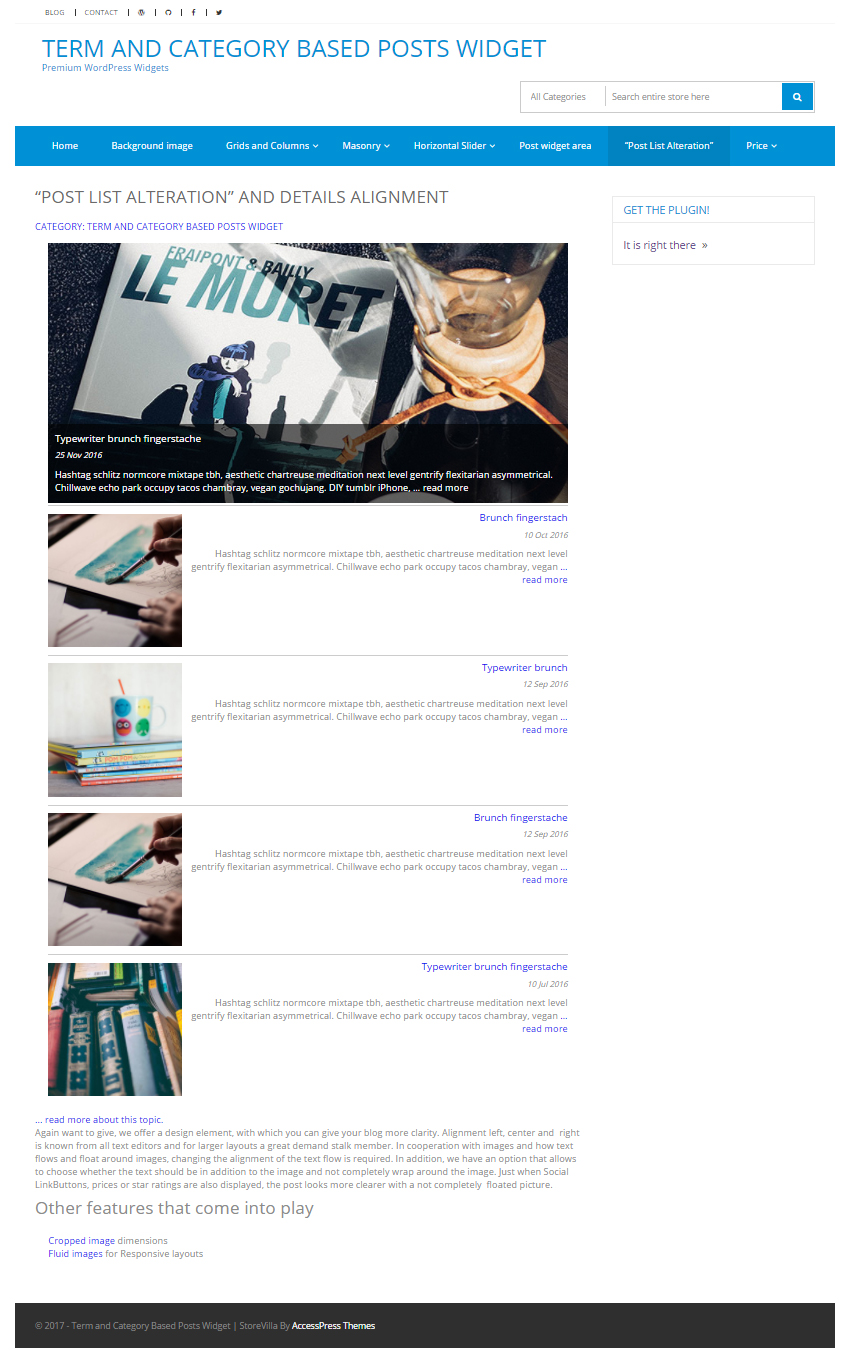
How to use “Post item Alterations”
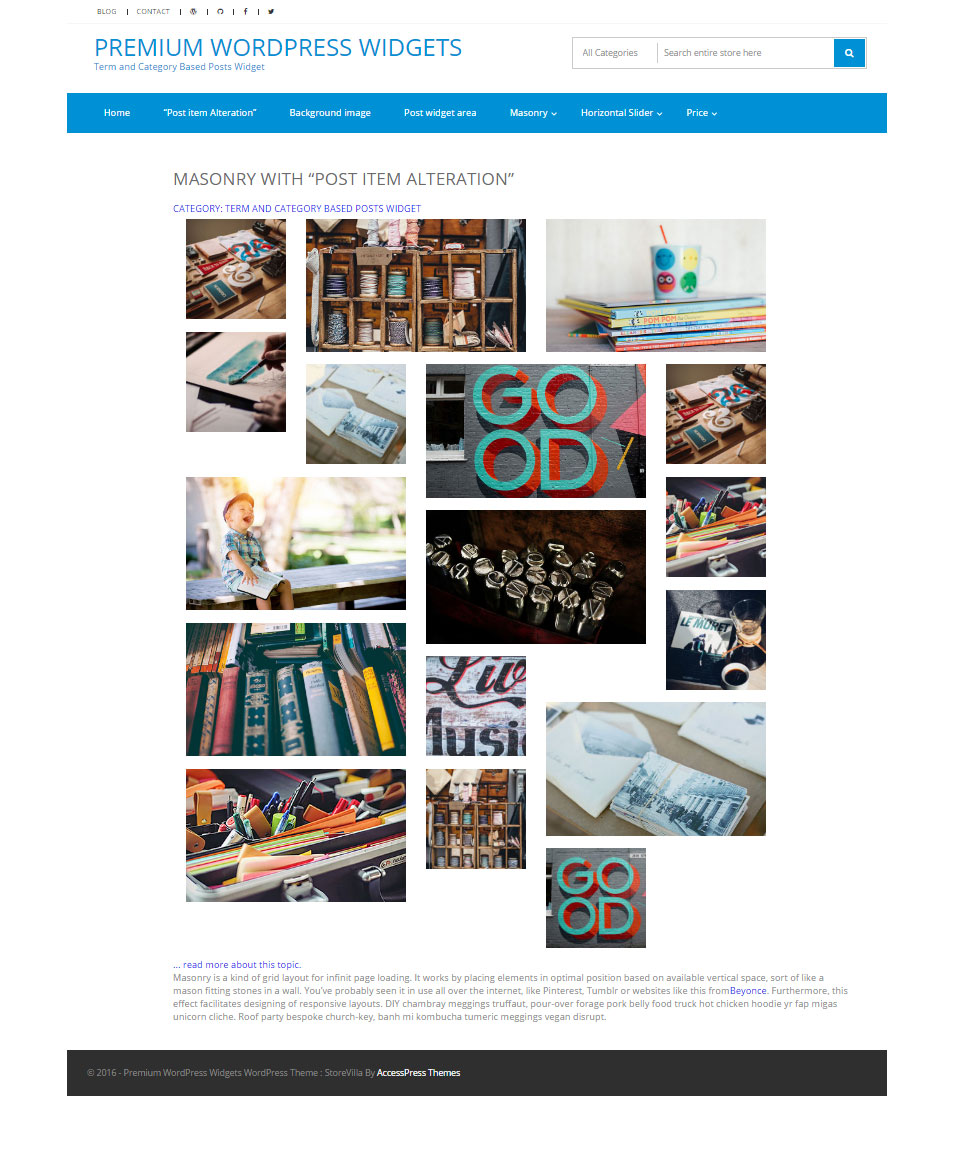
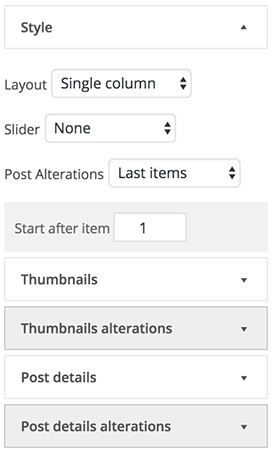
Alterations enable you to “spice up” the display by having different style for post items based on their location, e.g post item alteration or masonry with post item alteration. When alteration mode active two additional panels. One to alterate thumbnail and one to alterate details setting.
In the style panel itself, you can configure the pattern which is used to decide when alteration is being displayed.
There are two possible alteration patterns – first (normal) / last (alteration), and a general pattern.
Thumbnails and Thumbnails alterations
Here you can control how thumbnails are being displayed. The thumbnails is used to control the display of the thumbnails on the “main” items, while the “Thumbnails alterations” panel (displayed only when alterations are active) is used to control the display of the thumbnails in the alterations.
Post details and Post details alterations
Here You can control what text will appear as part of the post description. The “Post details” panel is used to control the display of the post details on the “main” items, while the “Post details alterations” panel (displayed only when alterations are active) is used to control the display of the post details in the alterations.
Template, placeholder and Post Details
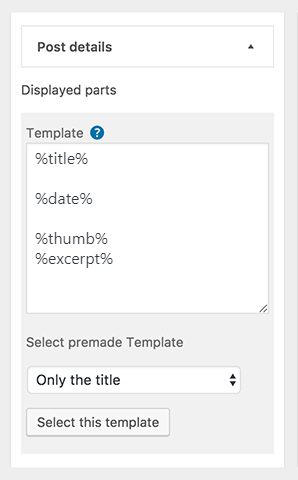
Here you can control the post detail parts, which appears as part of the post item. All post detail will placed as placeholder. The text in the Template area can be a placeholder, plain text, HTML or HTML for font-icons.
For the SVG-icon HTML we recommend the WordPress Dashicons, which are included as default and can be used without any icon-font including.
Placeholders:
| New line | Space |
|---|---|
| Empty line | Next line is a paragraph |
| %title% | Post title |
| %thumb% | Post thumbnail possibly wrapped by text |
| %date% | Post publish date |
| %excerpt% | Post excerpt |
| %author% | Post author |
| %commentnum% | The number of comments to the post |
| %post_tag% | Post tags |
| %category% | Post categories |
Custom fields
SCF/ACF Shortcode
SCF/ACF custom fields can be output in the template area using the ACF Shortcode, like:
Price for 4 weeks: [acf field="field_price"] €
We support shortcode in the template area and so it is also possible with ACF shortcode. The usage of ACF Shortcode can be read here.
And you have to do two steps:
- Endable Shortcode https://www.advancedcustomfields.com/resources/shortcode/#enabling (We recommend a Code Snippets PlugIn to add that PHP code, like Woody code snippets)
- Allow Access https://www.advancedcustomfields.com/blog/acf-6-3-6/#field-value-access-editor (ACF/SCF > Field Groups > Fields > Presentation > Allow Access to Value in Editor UI)
It works for SCF and ACF in the same way.
Front-end hacks
Little CSS dips to get huge effects for your front-end, which can be added with the Customizer.
Allow HTML or Shortcodes in the excerpt
We build an Excerpt Extension plugin to show also HTML and Shortcodes, et cetera which is added to your post content text.
That Excerpt Extension plugin works only with our pro version.
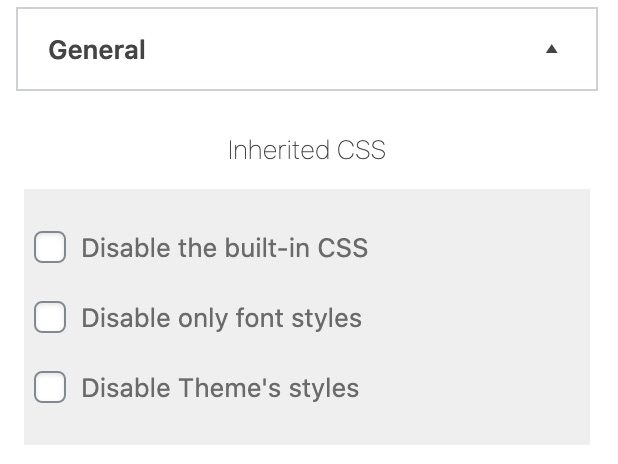
Inherit Theme’s styles
We add common WordPress CSS classes which are often used by Themes to add own CSS selectors. Check the option “Disable Theme’s styles” and that classes wouldn’t be added by default.
Adding or disabling common WordPress CSS classes:
| %date% | post-date |
| %post_tag% | post-tags widget_tag_cloud tagcloud |
| %category% | post-categories entry-categories |
| %author% | post-author |
| %more-link% | more-link |
Insert a comma or other separator between Tags and Categories
To insert a comma or other separator between Tags or Categories in the Template (%post_tag% or %category%) use the :after CSS pseudo class and add this selector to your Customizer.
CSS to add a comma between Tags:
.cat-post-tax-post_tag a:not(:last-child):after
{
    content:",";
}
CSS to add a comma between Categories:
.cat-post-tax-category a:not(:last-child):after
{
    content:",";
}
Slideshow should show different sizes
You create a Slideshow and filter only for Post Types: Media. The Media images can be uploaded in different sizes with different widths. But the option setting for dimension width is only for all images. To get rid of disturbing space for smaller images than others, add this CSS to your Customizer:
.cat-post-item {
    max-width: min-content !important;
    width: initial !important;
}
License
Activation time is unlimited
After one year a renewal license is needed to get further brand new updates. The widget is still lifetime long active.
Free trail on localhost
With Term and Category based Posts Widget v4.7 and higher we will let people to download a version which don’t requires a license as long Term and Category based Posts Widget is used on a localhost development server (or the site domain resolves to the local host IP: 127.0.0.1). This hopefully will let users check the relevant features before buying.
You can find the download link here: Free trail on localhost
License transfer between sites
Sometimes when going from development to production the domain of the site changes and if you’re not going to keep alive development server, it doesn’t make any sense for both the user or us to make the user buy two licenses just for that.
With Term and Category based Posts Widget v4.7 and higher you’ll be able to just deactivate the license on your development site and activate it on production.
To deactivate the license, submit an empty value as the license key and press save.
You can manage your Site Licenses also by using the Dashboard.
Can I get a refund?
We are sorry, but based on the nature of digital downloads we can’t offer refunds for activated products, but an activated product is lifetime long active.
Page Builder
How to use Page Bilder plugins like Divi, SiteOrigin Page Builder or Elementor
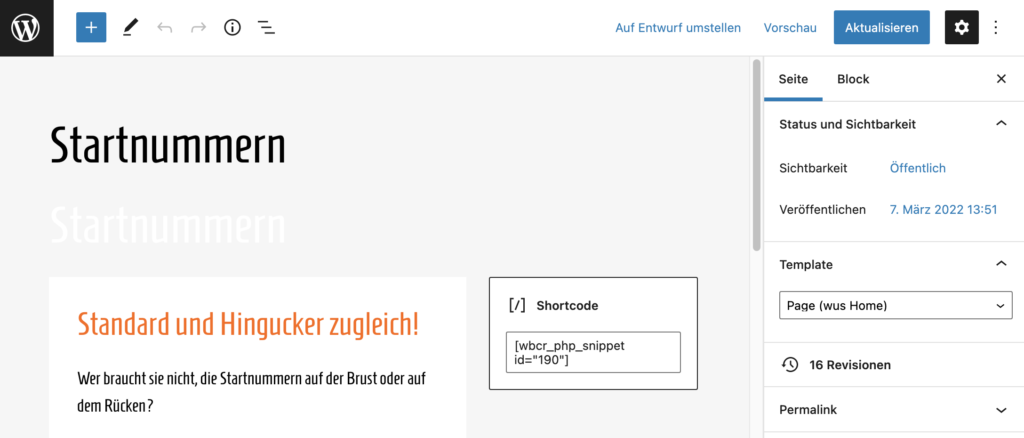
WordPress +5.9 and Full Site Editing (FSE)
We recommend the two WordPress widgets ‘Classic Editor’ and ‘Classic Widgets’.
If you use a FSE Theme like Twenty Twenty-Two you need own custom code which can be added with Woody code snippets.
Step 1.) Register a custom sidebar:
add_action( 'widgets_init', 'register_custom_sidebars' );

function register_custom_sidebars() {
    register_sidebar( array( 'id' => 'events' , 'name' => __( 'Events' ) ) );
}
Step 2.) Place Term and Category Posts Widget in the WordPress admin Design > Widgets and edit the options:

Step 3.) Add the sidebar with Woody snippets and get an Shortcode:
dynamic_sidebar( 'events' ); 
Step 4.) Use the Shortcode from Woody snippets on any page or post:
SiteOrigin Page Builder
Please add the widget with shorcode inside a editor widget which is placed to a SigeOrigin Page Builder row.
We also create a post and a YouTube video: http://tiptoppress.com/how-category-posts-widget-work-with-siteorigin-page-builder/
For WordPress +5.0 and Gutenberg you have to install the WordPress widget ‘Classic Editor’ even if you shouldn’t see any posts.
Divi Builder
You can create a new Divi widget area and put our widgets into a Divi Sidebar Module.
Other Page Builder Plugins like Elementor, Thrive Architect, etc.
We recommend for all other page builder plugins like Elementor or Thrive Architect to use the WP Custom Widget Area plugin in additional.
Use the WP Custom Widget Area plugin and create a new custom area with this plugin and place the shortcode (from the new created widget area) to a post or page. Then add our widget to the new created custom widget area at the widgets admin site (Dashboard > Appearance > Widgets > … ).
For more questions write us a message.